This Builder Final Clean article is written for Melbourne owners and managers who need more than a quick blast. Builder Final Clean jobs in our city require a surface diagnosis before any cleaning starts.
In Melbourne, everything from growth corridor new-build mortar smear to inner-suburb heritage brick has its own cleaning risk profile. The right method, chemistry and pressure keep the surface safe and the result lasting.
Step 1: Brick and masonry (while scaffold is still up)
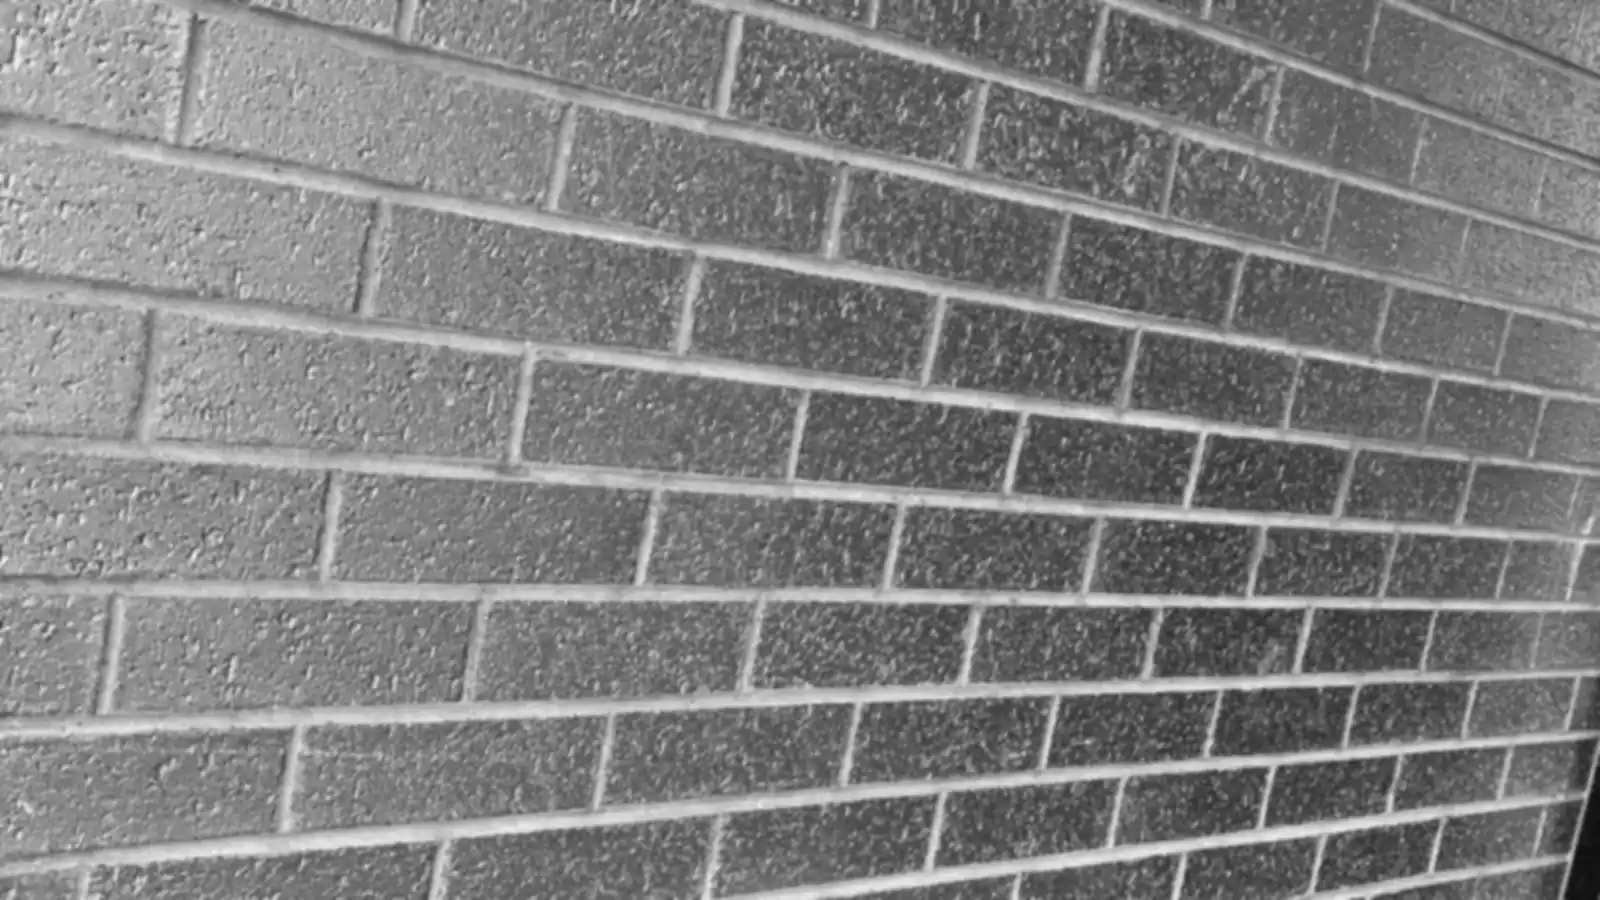
Pre-wet the brick wall thoroughly before any acid contact to prevent uneven absorption. Apply diluted acid solution matched to the brick type — cream and buff bricks require a significantly weaker dilution than red clay bricks to avoid iron reaction and staining. Scrub each elevation systematically, then rinse with clean water and check in direct sunlight where haze is visible that flat light misses. Run a test panel of 30×30cm the previous day on any unfamiliar brick type and check at 24 hours in dry weather — this step prevents the most common and most expensive builder final clean mistakes.
Step 2: Driveway and concrete paths
After the brick rinse has fully dried, move to the driveway, paths and concrete slab areas. Pre-treat any oil spots from machinery with a purpose-made degreaser at extended dwell before the surface cleaner pass, because standard detergent will not break down sub-contractor oil residue without prolonged contact time. Run a rotary surface cleaner for the main driveway area to achieve even coverage without zebra striping, then detail the edges, steps and garden path borders with a wand. The driveway is the first surface the new owner's vehicle will park on — presentation here contributes directly to client satisfaction at handover.
Step 3: Glass and frames (always last)
Window glass should only be cleaned after brickwork acid rinse and driveway cleaning are both complete and dried — doing it earlier guarantees recontamination from later steps. Remove silicone overspray from glazing bars carefully with a razor-blade technique before any detergent application; blasting it with water embeds it against the glass edge. Aluminium frames require a pH-neutral solution — even diluted acid will stain anodised aluminium permanently and create a snagging item that is difficult to remediate. Finish with a squeegee pass and detail check in morning sunlight, which reveals smear and streaks that artificial light misses entirely.
Step 4: Documentation before site departure
Before leaving site, photograph every elevation from consistent positions — wide establishing shot and close-up detail per elevation are the minimum. Include the street address and date in each filename and email the complete photo set to the builder and site supervisor on the day itself to create a timestamped record in both inboxes. Note any areas that could not be fully cleaned due to persistent staining, incompatible brick type or access limitation in a written site note sent with the photos. This pre-departure documentation step takes fifteen minutes and protects against disputes that would otherwise take fifteen hours to resolve.
On the job
- Always clean brick before paths and glass after brick — sequence prevents acid drip contamination and rework.
- Acid strength must match the brick type; cream and buff bricks burn at dilutions safe for red clay.
- Same-day photo documentation emailed to builder and supervisor creates a timestamped baseline that prevents post-handover disputes.
More guides
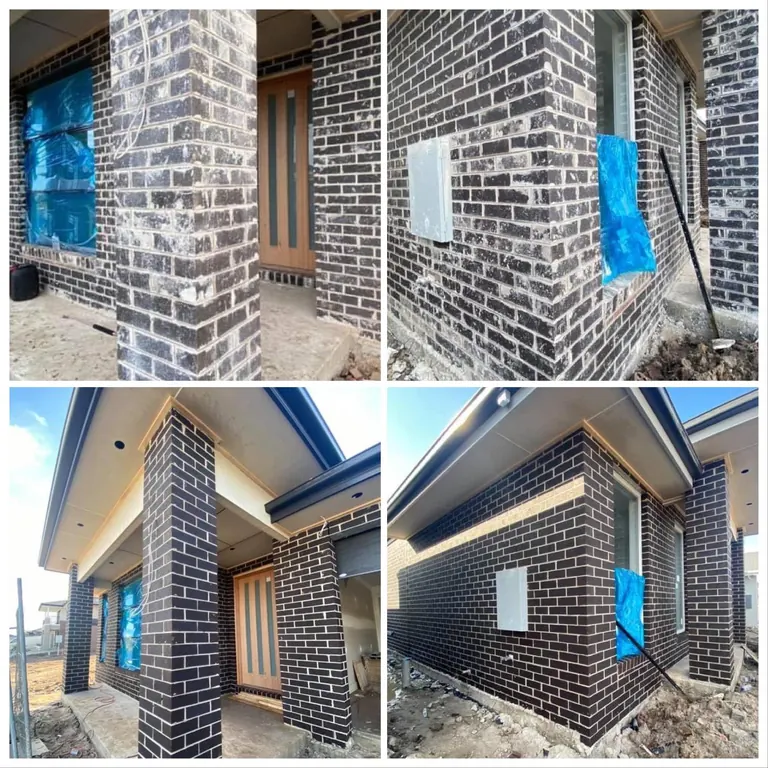
Builder Final Clean: What's Included and Why It's Not a General Clean
The full scope of a professional builder final clean for Melbourne new builds — brick washing, concrete paths, glass, frames and the documentation builders need for handover.
Read guide →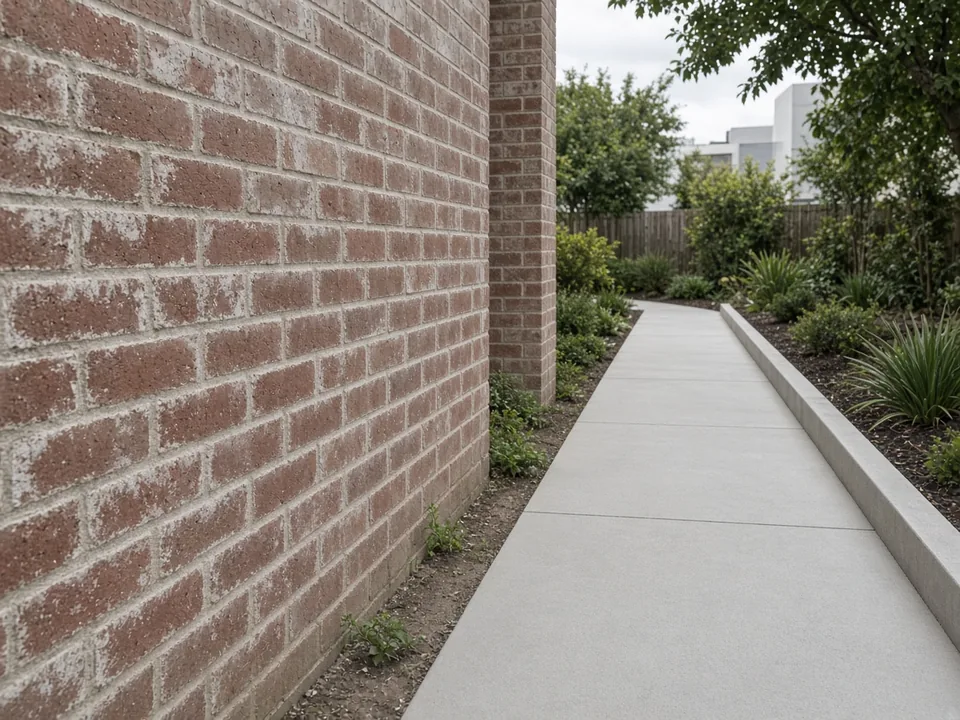
Builder Final Clean vs General Clean: Why the Difference Matters on Melbourne New Builds
What separates a professional builder final clean from a general post-construction cleanup — chemistry, sequencing, documentation and surface safety.
Read guide →
Tarneit & Point Cook: Builder Handover Cleans Done Right
Western growth corridor new-builds need brick acid wash + final concrete clean before handover.
Read guide →